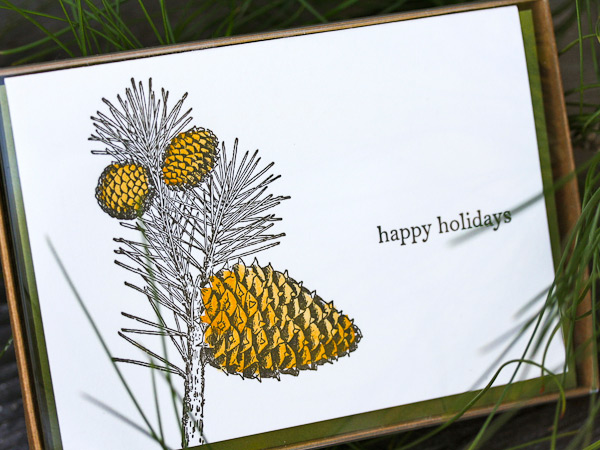
From start to finish, watching the production of a custom photopolymer plate is fascinating. From the genesis of a digital design file to hand-inspection of a pulled proof, the transformation of light-sensitive photopolymer to a vehicle for endless hours of printing fun is curiously intriguing. We followed one of Pablo Delgado’s recent plate orders as he had fun using the plate on the at-home Fiskars Fuse system to create letterpress cards.


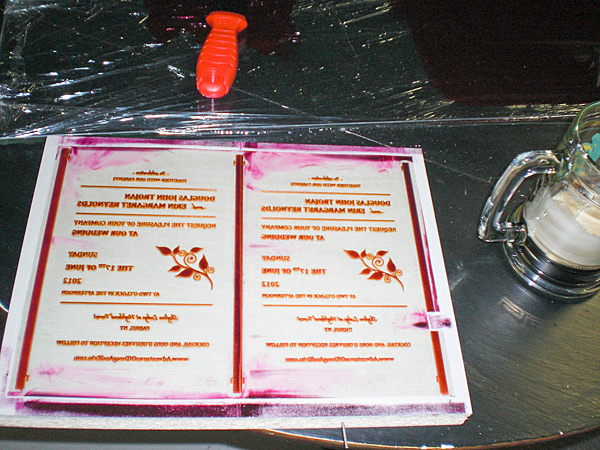
Starting out, I went with the Fiskars Fuse because of the maximum size for the platform. At 12 inches it is double the max width on the Quickutz Epic Six. The first problem was that there wasn’t a platform available at the 12 inches that would allow me the registration necessary to print on the precut A-6 size cards. So I ordered two 12″x12″ clear cast acrylic sheets from Tap Plastics. The bottom piece was .472″ thick and would work as my base for the cardstock, and the top piece was .236″ thick and would act as the chase for the photopolymer plate. I cut a heavy white plastic in two strips to work as hinges and put it all together. It looked a bit crude, but it worked great and I am able to take advantage of the wider roller length. I adhered a sheet of hard heavy white plastic to help achieve the thickness necessary, and a couple of thinner sheets with grids on them to help with placement. The ink I am using for the particular card I am showing are both Great Western Ink oil based Pantone 185 and Reflex Blue.

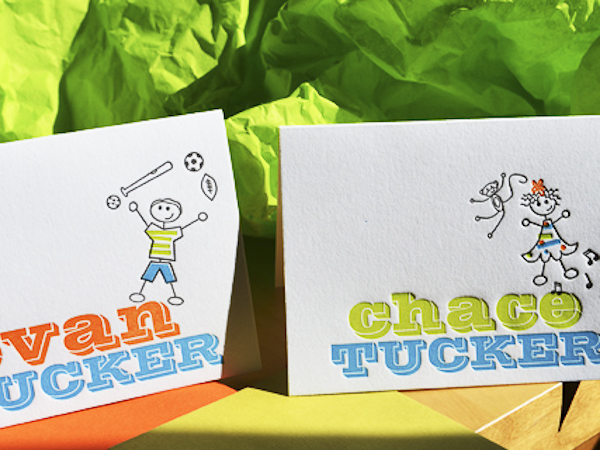
I began with a one color card to figure out the process, and this went fairly smooth. I played around with packing to get the depth I wanted and when I accomplished this I took the leap into a two color card. This was a challenge. Keeping an even consistency of the two inks on the brayer was difficult to figure out at first. I had to try different ways of getting enough but not too much ink on the rubber roller without causing ghosting or plugging up the detail. In the end a couple of thin coats seemed to work best as the perfect balance. One trick I learned to keep the messiness down was to put some transparent tape on the plate strips so when I rolled out the ink on the plate, I could lift off the inked tape and the strip remained clean. I had a lot of fun figuring out this process. It definitely requires a good bit of patience, the ability to look at things analytically, and organization to keep the ink only where it belongs. The rewards of seeing your art reproduced in vibrant colors and beautiful stock outweighs any of the downsides you experience.

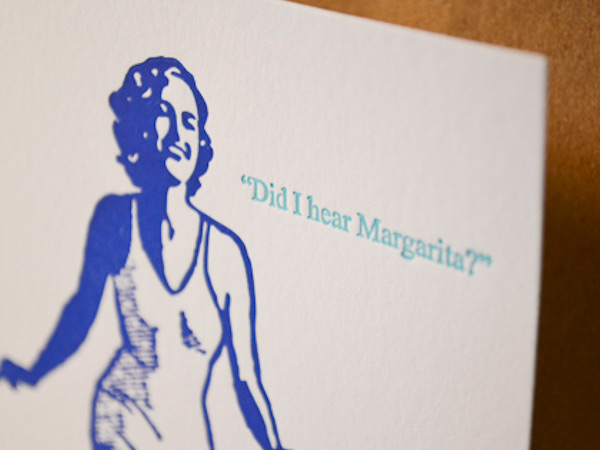
The art I am using is original. It is inspired directly by the traditional “Dia de los Muertos” style of images that depict “calacas” (skeletons) and “diablitos” (little devils) in humorous and satirical poses. “Amor Eterno Artesanias” is the name that I am creating under.

It has been a journey that has taken several years to come together, and the work is only just beginning. I had not been able to find the right medium to share this art through before, so I am very thankful to Boxcar Press for not only putting out information on how to create these letterpress images, but also the personal assistance they offer. Whatever this venture may turn in to, it’s reassuring to know that Boxcar Press is there to help out in any way they can.
Huge round of thanks out to Pablo for letting us get a closer look at his beautifully printed pieces!


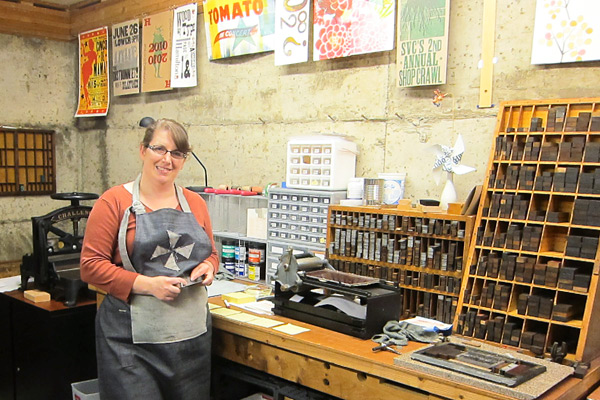 UP CLOSE WITH LAURA BENTLEY When I was young I enjoyed doing artsy things, but in college I went a different direction and got a Computer Science and Accounting degree. By day I’m a computer consultant mostly for a dance studio that teaches social dance—ballroom, salsa, and swing. I run their website, set up their sales system, and do their bookkeeping. So, I’m a hobby letterpress printer, and try to squeeze in time to print when I can. I also volunteer as a teaching assistant for the letterpress classes at SVC (School of Visual Concepts) in Seattle.


 David Black is a fellow teaching assistant and a print artist. I personally consider him a mechanical genius as he can fix almost anything, and has a real gift for explaining how things work. But what inspires me most is that he makes time to print most every day. He once printed a little card that had a tiny ornament of a car and the text said “Tiny car”; only black ink on white paper. It was a great reminder to me that you don’t always have to be printing big extravagant projects, but can print quick fun things, and you’ll learn something with each new thing you print.
 PRESS HISTORY A gentleman named Carl Montford, the self-nicknamed “press matchmaker,” matched me up with an 1863 Gordon Franklin press. It was in the basement of a local artist that wasn’t using it anymore. It’s a great match for me, because it’s a smaller platen press (chase about 7 x 11) and we needed to get it down into my basement. The press would be a little wonky for production work, but it suits a hobby printer like me just fine.