Creating vector art via the Live Trace function in Adobe Illustrator will convert a rasterized (e.g a pixel-based) graphic into a vectorized graphic (e.g artwork made up of vectors or small points). Using the Live Trace feature to convert your artwork ensures the crispest and cleanest plate possible, as well as allows scaling and transforming the artwork without losing data or composition clarity.
Depending on what type of artwork one is looking to convert to vector, a few considerations must be taken for best results. Pixel-based graphics, such as calligraphy and line art, should be converted to image mode of bitmap beforehand and have a higher resolution of 300-600. The more graphic, stark, and higher contrast an image is, the better the Live Trace result will be. Live Trace will not always work for all images but with practice, you’ll learn to recognize what images will work best with Live Trace.
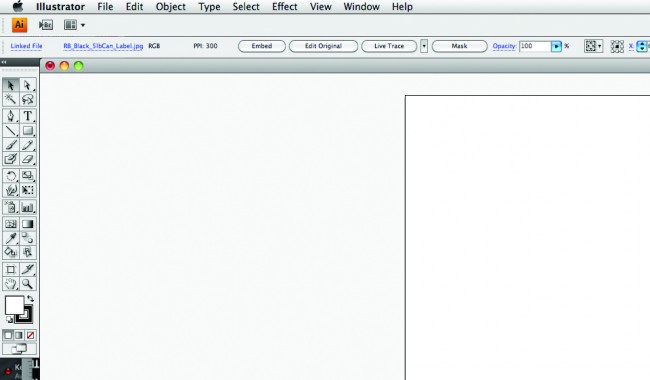
First, open the file in Adobe Illustrator. Next, double-click on the image with the default (black) arrow tool until the Live Trace toolbar appears at the top of the Illustrator tool bar.

Live Trace Toolbar
Within the Live Trace toolbar in Adobe Illustrator, you have the ability to choose either between presets or experiment with different manual settings. The default is usually adequate for most purposes so click on Live Trace. The image will reshape and convert to 100% cmyk black. If you are satisfied with the conversion-to-vector on screen preview, then click “Expand” or “Live Paint” to immediately convert the file to vector. White and black anchor squares will appear on the Illustrator art board to denote the successful conversion. Click on your white artboard again to complete the trace.
Depending on the quality of the original pixel-based file and the desired effect in mind, Live Trace is a very powerful editing tool for scanned-in calligraphy and high-contrast line art.
Posted in: File Preparation, File Preparation