Our focus has been drawn lately to a Goudy typeface, re-invigorating studio visits, and being up-close with dinosaurs. We hope you delight in what has captured our attention in this installment of the Inquisitive Printers!
From Cathy:
Recently I was running amok on a good search about typefaces. Naturally, Frederic Goudy had his share of references to explore. One, in particular, caught my eye because it was a video that was linking our Syracuse University here with Goudy. As Syracuse based printers, we have some hometown pride and to have a tie-in to this very prolific font designer was a neat surprise. Enjoy this video called Goudy & Syracuse: The Tale of A Typeface found.
From Maddie:
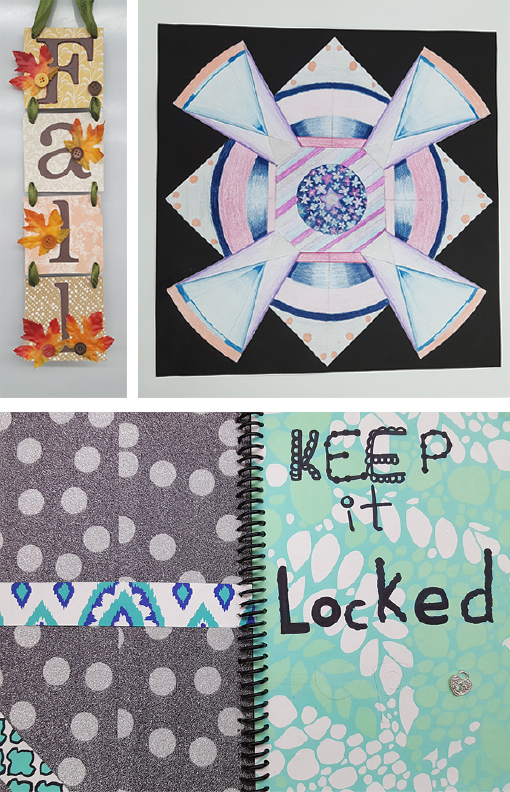
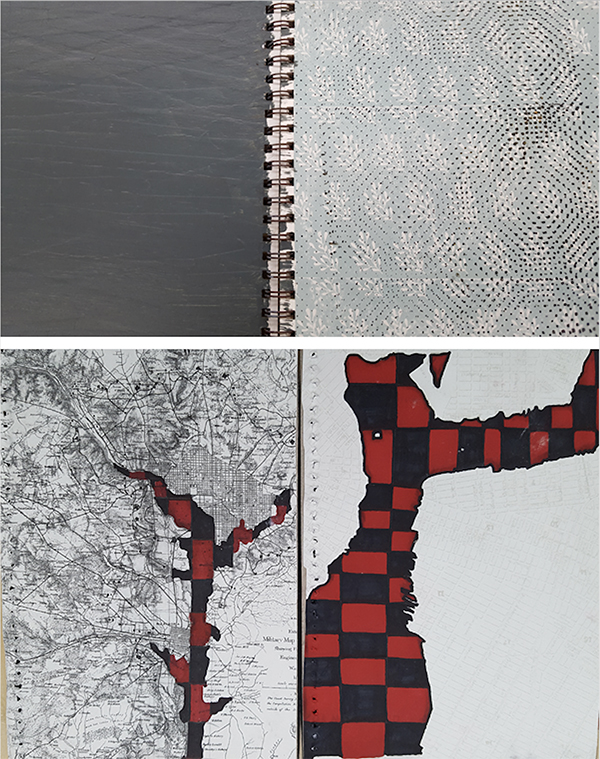
Hello Print Friends! I would like to share with ya’ll my favorite aspect to my artistic practice. Do you have find yourself in your workspace not knowing what to do with your projects? You do? Okay. Great! I suggest you have a studio visit.
This has been extremely valuable to growing as an artist and developing my work since leaving my fine art studies back in 2016. Similarly, I like to receive feedback and miss having a community to work within now that I am done with school.
Have a friend stop by your space. Show them what you are currently working on. Share your artistic process with them. Invite them over while you are working on a print run—more hands make less work. Let your visitor ask questions and get to know what you do as a maker.
Don’t forget the SNACKS! I have some things to eat or drink and enjoy simply hanging out. For instance, I like to invite people over during lunchtime for a 45-minute visit and I also encourage my guest to hang out & draw with me. Sketching and sharing ideas is great!
Think about what you want to get out of a studio visit. Or alternatively, this doesn’t need to have an objective. See where the conversation leads. Discuss everything and nothing. This dialogue may influence your work in return.
Afterward, reflect on what was talked about. do you see your work with a new perspective? I typically feel energized after a studio visit. The feedback allows me to return to working on my projects with fresh ideas. I am delighted that I get to share what I love to do and really appreciate how receptive my visitors are to my work and creative space. I see this as vital to my artistic practice and will continue doing this. FOREVER. Hope you give it a whirl.

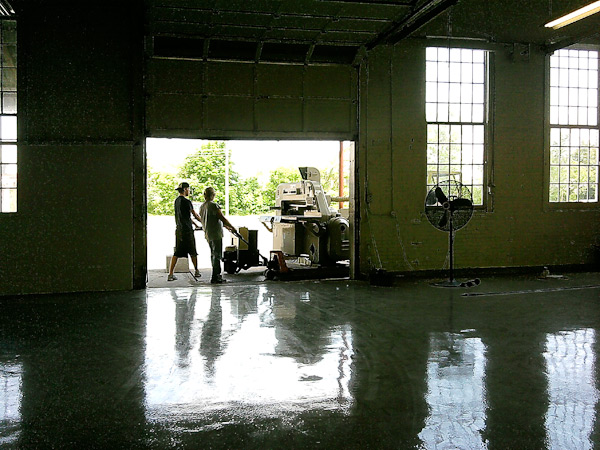
My dear friends, Shelby and Brian are looking through a box of my small drawings (July 2018).
Here is a great link that offers very honest and helpful suggestions about studio visits and making the most out of them!
From Rebecca:
Want to get up-close to dinosaur bones without leaving your computer chair? Photographer Christian Voigt does just that as he captured the delicate beauty of the London Natural History Museum’s dinosaur skeleton collection. Come take a look!

(photography credit: Christian Voigt and WIRED.com)
We hope you explore some of our links and perhaps learn a little bit more about what intrigues us here at Boxcar Press. Email us at info@boxcarpress.com the things that delight you also!